This article describes How To Build A Wifi Antenna to get free wifi connection.
The content of the experience is for reference only. If you need to resolve a particular problem, we recommend that you consult with a specialist in the antenna field in detail like C&T RF Antennas Inc.
Here we are going to show you the 9 steps for how to build a directional wifi antenna for the internet.
You may also like the article How To Make A Omni Wifi Antenna To Get Free Internet?
How To Build A Wifi Antenna Step 1. Prepare the necessary materials and tools.
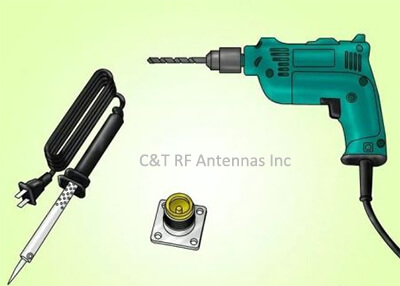
You will need to provide N-female chassis connectors, four # 6×1/4 “nuts and bolts, 32 mm diameter copper wire, pigtail cables, and an empty aluminum can.
You also need a drill bit, a soldering iron, and a suitable screwdriver.
A pigtail cable is a patch cable with connectors on both ends.
Aluminum cans must have a metal bottom, but do not require a lid.
How To Build A Wifi Antenna Step 2. Measure the diameter of an aluminum can.
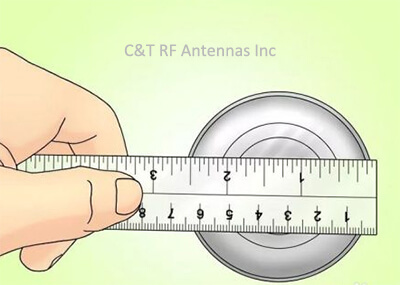
The diameter of the aluminum can determine the location of the wiring. The width of the aluminum can be between 7.6 cm and 15.2 cm.
How To Build A Wifi Antenna Step 3. Mark the location of the connection cable.
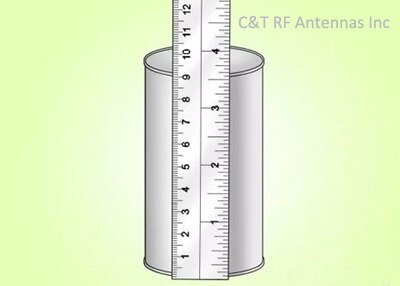
It should be measured from the bottom to the top along the outside of the aluminum can. The specific length depends on the diameter of the aluminum can. The position of the connecting line determines the maximum signal strength. The following are commonly used values.
Aluminum can with a width of 7.6 cm, the position of the connecting line is 9.5 cm
Aluminum can with a width of 8.9 cm, the position of the connecting line is 5.25 cm
Aluminum can with a width of 15.2 cm and a connecting line position of 3.5 cm
How To Build A Wifi Antenna Step 4. Make a hole in the side of the aluminum can.
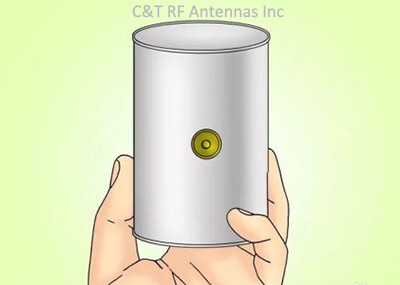
Use a drill to drill a hole in the measured connecting wire. The hole size is the same as the smaller end of the N-female connector. If you don’t have a drill, you can use a nail or hammer to make a hole.
If the N-female connector has screw holes, you will need to make some small holes around the opening and then use nuts and nuts to secure the interface.
How To Build A Wifi Antenna Step 5. Measure and cut the wire.
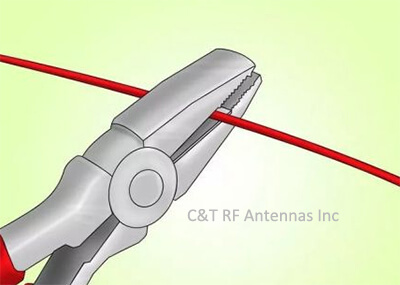
Connect the copper wire to the smaller end of the N-female connector. The total length of the copper pipe and cable to be connected is 3.07 cm.
To get the best connection signal, the length should be as close as possible to the specified value.
How To Build A Wifi Antenna Step 6. Solder the copper wire to the smaller end of the N-female connector.
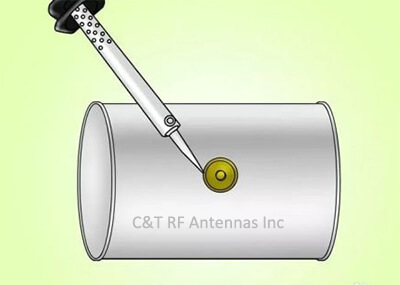
Use a soldering iron to secure the wire to the back of the N-female connector. This is the antenna probe. Check the relevant guides for soldering instructions. The copper wire should be connected directly to the connector.
How To Build A Wifi Antenna Step 7. Protect the probe with an aluminum can.
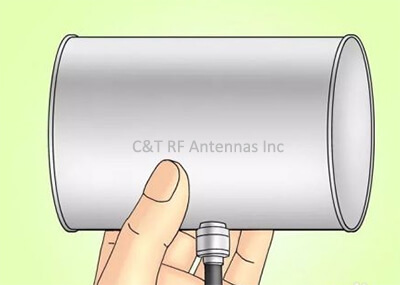
However, after the weld position has cooled, the probe is attached to the aluminum can, the copper wire is placed inside the aluminum can, and the connector is placed outside the aluminum can. Secure the probe to the aluminum can with nuts and nuts.
How To Build A Wifi Antenna Step 8. Use a pigtail cable to connect the wireless network card to the aluminum can.
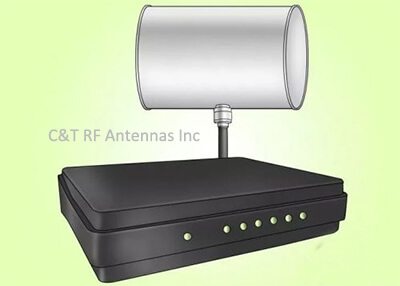
Use a screw to connect the wire to the probe and the other end of the wire to the antenna port on the wireless network card.
How To Build A Wifi Antenna Step 9. Place the aluminum can toward the access point.
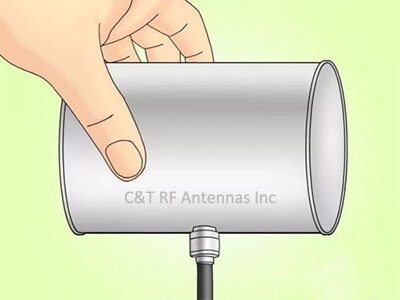
The aluminum cans should face the wireless access point between them. You can use a cable tie to secure the aluminum can to the photo tripod. This makes it easy to fit the aluminum can to the access point.
The coverage area of the antenna varies depending on the size of the aluminum can, measurement accuracy, and interference between the antenna and the access point.
Besides the How To Build A Wifi Antenna article, you may also be interested in the below articles.
55 Different Types of Antennas With Examples Used in Wireless Communication
4G vs. 5G: What is the difference between 4G and 5G?
